This guide will help you set up your Koha Library System after launching it on Amazon Web Services (AWS) Marketplace.
1. Retrieve the Koha Administrator Password
- Log in to your AWS account and navigate to the EC2 dashboard.
- In the EC2 console, select your new instance listed under “Instances”.
- SSH into your instance:
- Via the EC2 console: Click on the instance, then click “Connect” to view the SSH command. Choose “Connect using EC2 Instance Connect”. Use “ubuntu” as the username.
- Via an SSH client: Use the public IP address or public DNS provided in the console. Use “ubuntu” as the username. You will also need to specify the private key file associated with the key pair you selected when launching the instance.
- Retrieve the Koha administrator password and username by running the following commands:
# List the Koha instances koha-list # Retrieve the password for the instance named "library" sudo koha-passwd library- The default instance name is library.
- The password will be displayed on the screen. Save it securely, you will need it in the next steps. Note that, for enhanced security, this is automatically changed whenever you reboot the server.
2. Complete the Post-Installation Koha Setup
- Copy the instance public IP address or public DNS and paste it into your web browser.
- Use port 8080 (i.e, https://<YOUR-INSTANCE-IP-ADDRESS>:8080). Make sure to use http, not https.) to access the staff client. You will see the post-installation setup wizard.
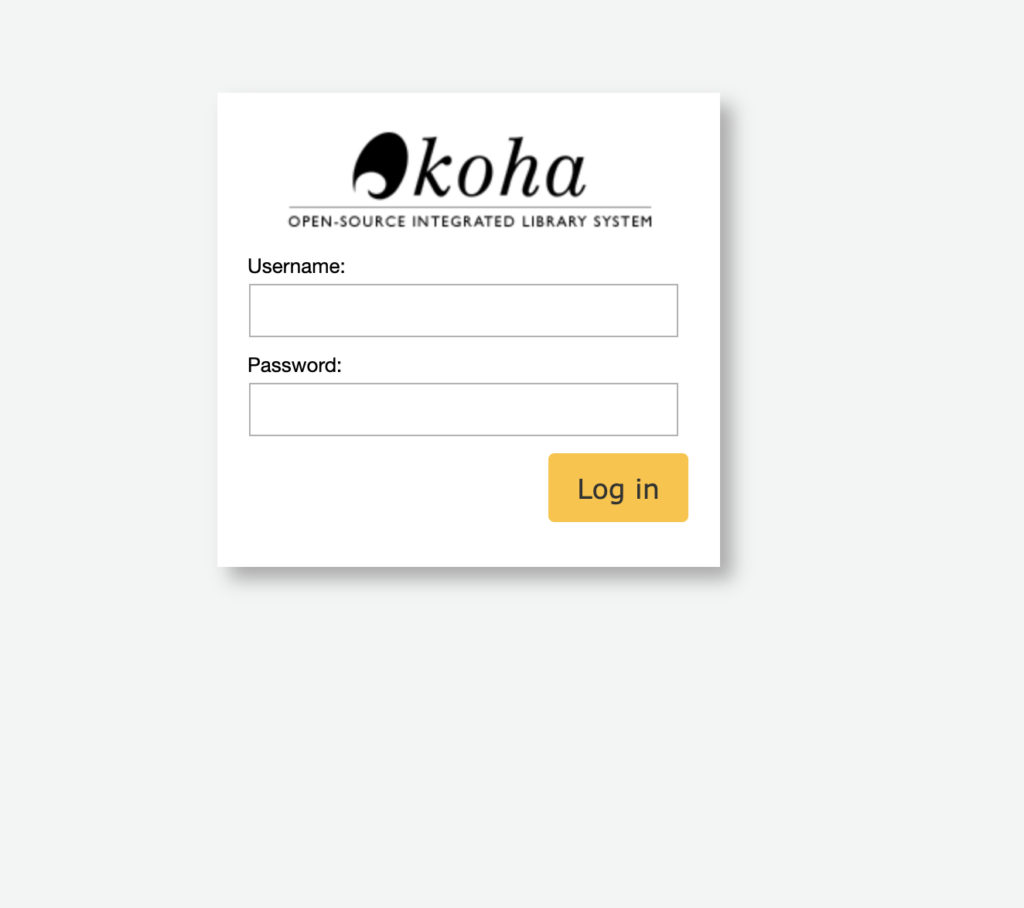
- Log in with the username “koha_library” and the password you retrieved earlier.
- Select your language and click “Continue to the next step”.
- Click “Continue to the next step” after the Perl dependencies check.
- Click “Continue to the next step” after the database settings check.
- Click “Continue to next step” after the database connection check.
- Click “Continue to next step” after the database setup.
- Click “Continue to next step” to install basic configuration settings.
- Select your MARC flavour and click “Continue to next step”.
- Select the mandatory and optional settings you want to install. Note that the following steps only apply if you select all the mandatory and optional settings, which is helpful when you want to quickly test Koha. However, for production, we recommend at least leaving the “Sample libraries”, Sample patrons”, and “Sample news items” unchecked.
- The default data will be loaded into your database. Click “Setup some of Koha’s basic requirements”.
- Click “Begin the onboarding process”
- Enter the details for your super-librarian user.
- Configure the circulation rules.
- Click submit and you will be redirected to the staff client login page.
- Log in with the super-librarian credentials you just created. Note: You might be redirected to the post-installation setup page. If this happens, go to the browser address bar and remove everything after “https://<YOUR-INSTANCE-IP-ADDRESS>:8080”

- Once the post-installation setup is complete, you will now be able to access the OPAC at https://<YOUR-INSTANCE-IP-ADDRESS> (port 80).
- Proceed to the post-installation checks to ensure your Koha instance is working correctly.
